Local Tunnel: map any domain (with HTTPS) to your local dev server
Point myapp.local — or *.example.com — at localhost:3000 with real HTTPS. Plus Published Pages: serve your own HTML at a custom domain, complete with a built-in Deeplink Builder for testing iOS and Android deep links.
Every web developer eventually slams into this wall: your local server is happily running on http://localhost:3000, but the OAuth provider, the third-party SDK, the cookie scope, or the browser feature you actually need to test all insist on a real domain — and on HTTPS. The folk-wisdom answer is to edit /etc/hosts, then chase down mkcert, then re-trust a self-signed cert in your keychain, then debug why Safari still hates it. It is fragile, requires root, and you end up with a stale host entry six months later that breaks production. There is a better way to map a custom domain to localhost with HTTPS, and it lives in a single panel of Traceptor.
What Local Tunnel actually does
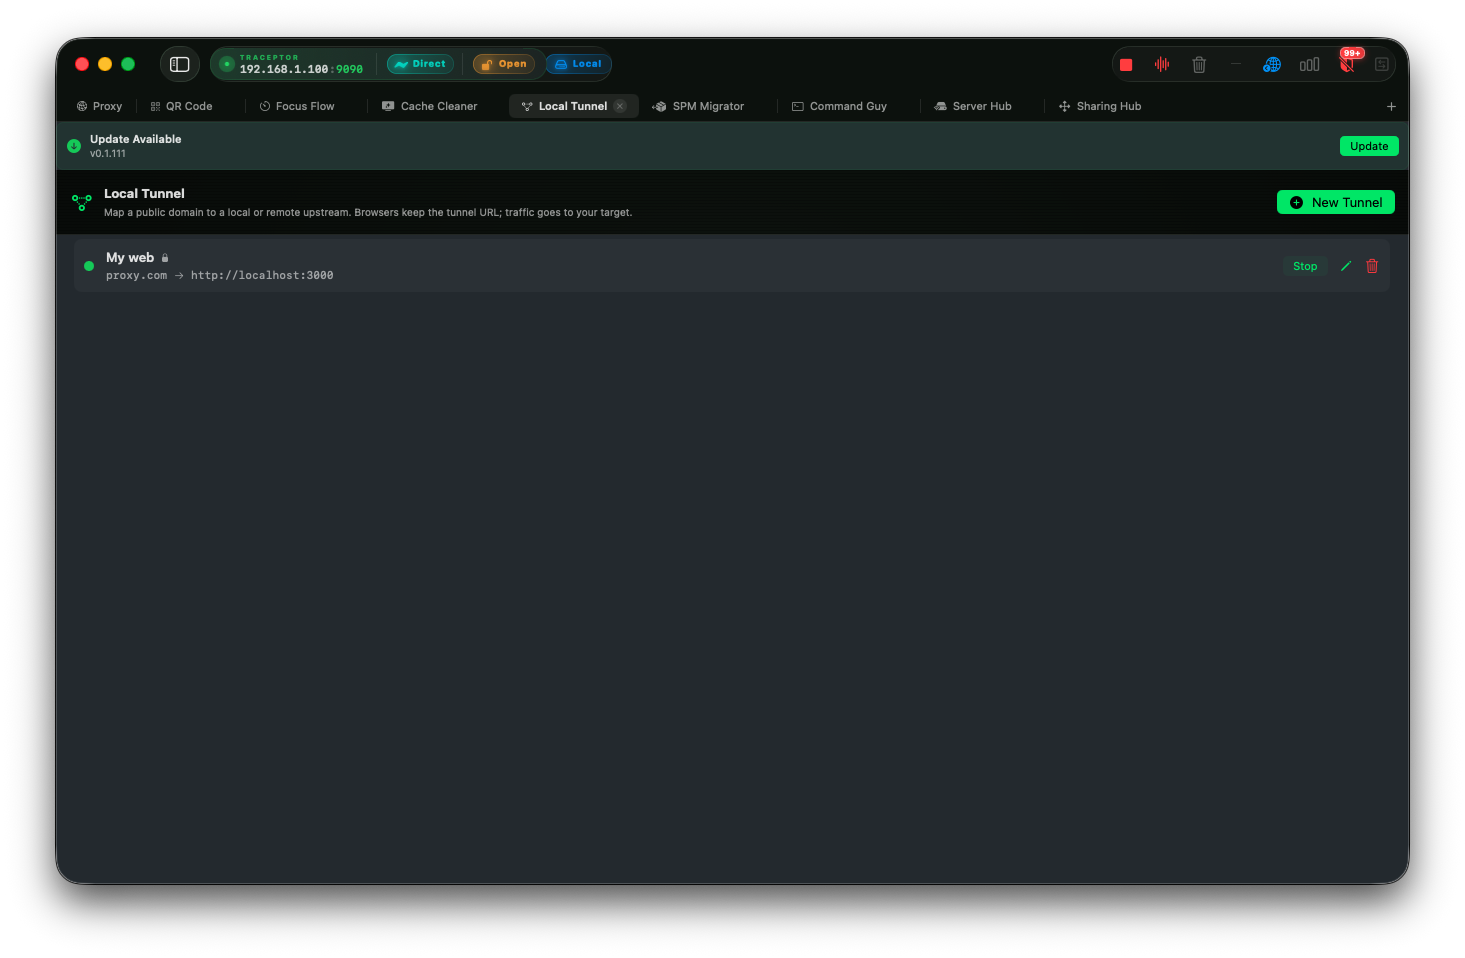
Local Tunnel is a Traceptor feature that rewrites requests for a domain you choose to a different upstream — usually your local dev server, but it can be any HTTP or HTTPS address on your machine or your LAN. You define a pair: a Tunnel Domain (what the browser types) and a Target Address (where Traceptor actually forwards). The browser keeps the original tunnel URL in the URL bar — cookies, CORS origin, OAuth callback, everything believes it is talking to myapp.local — while the bytes silently flow to http://localhost:3000.
The interesting bit is HTTPS. When you toggle HTTPS on for a tunnel, Traceptor MITM-intercepts the request and serves a certificate it issued for that domain on the fly. Because Traceptor’s root CA was trusted in your keychain the first time you launched the app, the browser sees a clean green padlock. That is how you use a custom domain for local development without ever touching a cert file by hand.
Create your first tunnel in 4 steps
Open Local Tunnel and click New Tunnel
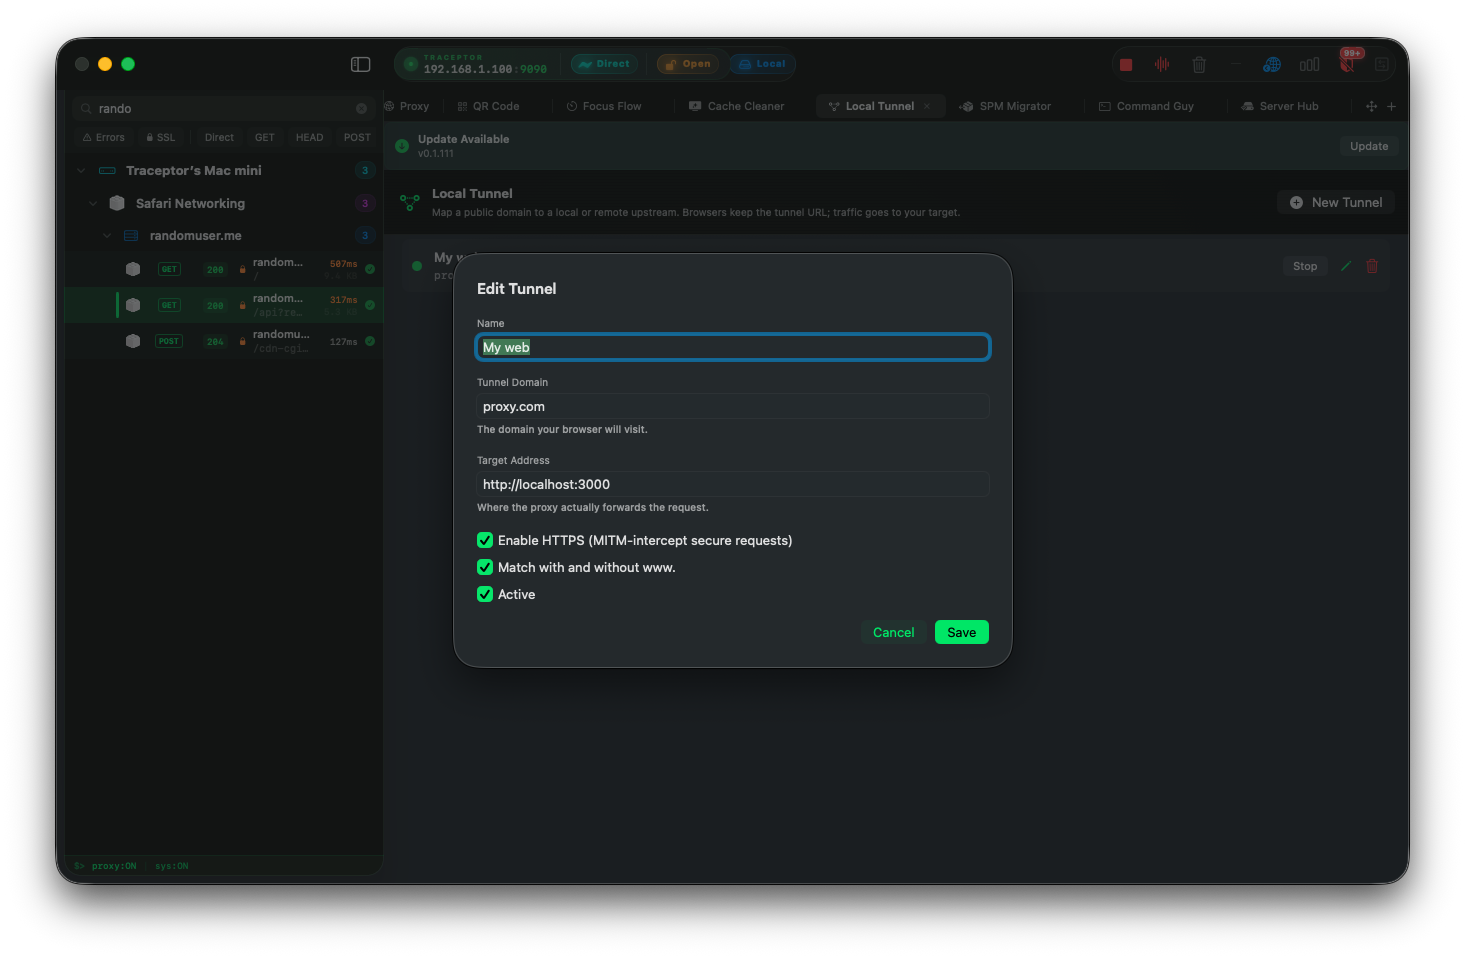
In Traceptor, switch to the Local Tunnel panel from the sidebar and click New Tunnel. An edit sheet opens with empty fields for Name, Tunnel Domain, and Target Address.
Set the Tunnel Domain
The Tunnel Domain is what you will actually type in your browser. Use either an exact host like myapp.local, or a wildcard glob like *.example.com to catch every subdomain. Drop the scheme — http:// and https:// are stripped on blur, so just myapp.local is fine.
Set the Target Address
The Target Address is where the proxy actually forwards. Most of the time this is http://localhost:3000, but it can be any reachable URL: http://192.168.1.5:3000for a teammate’s machine, or a remote staging URL you want to pin to a friendlier name.
Enable HTTPS and Save
Leave Enable HTTPS on — that is the whole point. Match with and without www. is on by default, so a tunnel for example.com also catches www.example.com and the other way round. Hit Create, point your browser at the tunnel domain, and you are done.
Wildcard tunnels
Wildcards make multi-tenant local development painless. One tunnel for *.example.com matches tenant-a.example.com, tenant-b.example.com, and anything else under that suffix — every subdomain lands on the same dev server, which reads the host header and serves the right tenant. The same rule applies to *.local if you prefer to keep your dev domains off any public TLD entirely.
ruleTunnel Domain:  *.example.com
Target:         http://localhost:3000
HTTPS:          on
Match www:      yes
Each tunnel has its own Active toggle, so you can keep a dozen of these configured and only enable the one you are working on. No DNS changes, no host file edits, no leftover state when you move on.
Published Pages — serve your own HTML at a custom domain
Published Pages is the sibling feature to Local Tunnel and uses the same domain namespace. Instead of forwarding to an upstream, you author HTML directly and Traceptor serves it at the custom domain you picked — with the same MITM-issued HTTPS treatment. Same fields: a domain, an Enable HTTPS switch, the Match with and without www. toggle, and an Active flag.
Some patterns it covers cleanly:
- A static landing page mounted at a fake domain — “Hello from staging” on
myapp.localwhile your real app is still being wired up. - A status or debug page wired to a deep-link tester, served from a stable URL you can bookmark on a real phone.
- A throwaway “this app is down” page at a real production domain, so you can rehearse how your client app reacts to failure paths without taking anything down.
The Deeplink Builder
Anyone who has tried to test deeplinks on macOSfor an iOS or Android app knows the pain: deep links cannot be typed into Safari’s URL bar on a phone — well, technically they can, but autocorrect mangles them and you have to spell out myapp://reset?email=test@x.io by hand, character by character, every time. The Deeplink Builder fixes that.
What it does
- Generates a Published Page with sections of named deeplinks (a label plus a URL each), rendered as big, tap-friendly anchors.
- Publishes that page at a custom domain of your choice, with HTTPS on, so you can open it on your phone over the LAN and tap any link to launch the app under test.
- Persists the structured
DeeplinkSectionandDeeplinkLinkrecords alongside the page, so reopening the builder later repopulates every field — no hand-editing the generated HTML.
The underlying data looks like this — sections, each holding labelled links to whichever custom URL scheme or universal link you need to exercise:
json[
  {
    "name": "Auth",
    "links": [
      { "label": "Login deeplink", "url": "myapp://login?token=abc" },
      { "label": "Reset password",  "url": "myapp://reset?email=test@x.io" }
    ]
  },
  {
    "name": "Profile",
    "links": [
      { "label": "View profile", "url": "myapp://profile/42" }
    ]
  }
]
Real-world workflows
- Develop against a strict cookie domain (
.example.com) locally without ever editing/etc/hostson your team’s machines. - Test an OAuth flow that demands HTTPS callbacks on a real custom host — register
https://auth.myapp.com/callbackonce, then tunnel it to whatever port your dev server happens to be on today. - Pin one particular subdomain (say
api.example.com) to a teammate’s preview server while keeping the rest of the site on yours. - Mock a third-party endpoint by serving HTML or JSON at its real domain through Published Pages — useful when the real service is rate-limited, flaky, or just not available yet.
- Tap-test thirty deeplinks on a real phone without typing each scheme into Safari by hand — generate a Deeplink Builder page once, bookmark it, never type
myapp://manually again.
How HTTPS works without certs
Here is the short version of why HTTPS for localhost dev works in Traceptor without any cert wrangling on your part. When the browser opens an HTTPS connection to myapp.local, Traceptor is sitting on the system proxy port. It recognises the tunnel rule, terminates the TLS handshake itself, and presents a certificate it just issued for myapp.local. That certificate chains up to Traceptor’s root CA — the one you trusted in your keychain the first time the app ran. The browser walks the chain, finds a trusted root, and shows a real padlock.
From your dev server’s perspective, it is being asked for http://localhost:3000as normal. From the browser’s perspective, it is talking real HTTPS to myapp.local. No mkcert, no /etc/hosts, no sudo, no per-domain certificate to renew.
When it’s not the right tool
Local Tunnel is not a public-internet tunnel
Local Tunnel is for your own client-side development convenience — the “tunnel” is from your browser’s point of view, not from the public internet. It does not expose your dev server to the outside world, and there is no Traceptor feature that does. If you need a colleague on another network to hit your machine, deploy a staging build properly. Use Local Tunnel for what it is good at: making your local environment look and feel like production while you build.
Local Tunnel vs editing /etc/hosts
- No root, no sudo.Tunnels live in Traceptor’s settings, not in a system file you need elevated permission to touch.
- Instant on and off. Each tunnel has an Active toggle; flipping it is one click, with no restart and no DNS cache flush.
- HTTPS for free. Toggle one switch and the MITM machinery handles certs for you. No
mkcert, no manual keychain dance per domain. - Per-domain isolation. Tunnels do not bleed into each other; disabling one will not break another, and wildcards let you scope behaviour as broadly or narrowly as you want.
- No stale state. Delete a tunnel and it is gone — no chance of a forgotten host entry making production unreachable six months from now.
If you have spent more than five minutes fighting /etc/hosts, dnsmasq, or a self-signed cert that Chrome will not trust, Local Tunnel is the boring, GUI-shaped answer you were hoping existed. Set it up once, leave it on, and stop thinking about it.
Keep reading